How to Create an FBA Shipping Plan on Amazon’s New Shipping Template (2021 Update)
Amazon has updated their shipping template, so we’re here to give you some new step-by-step instructions to create an FBA shipping plan.
Properly creating a shipping plan is vital to getting your goods into FBA without any delays. These 8 simple steps (with photos) will have you on your way in no time.
Step 1: Select inventory to be shipped
From your dashboard in Seller Central, navigate to Manage FBA Inventory.
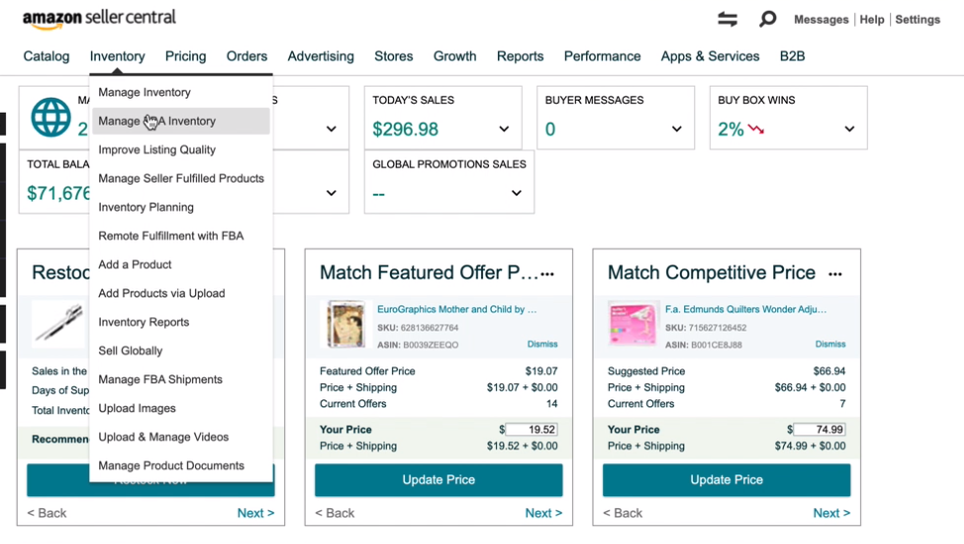
Select the checkbox on the left for all the products you will transition to FBA.
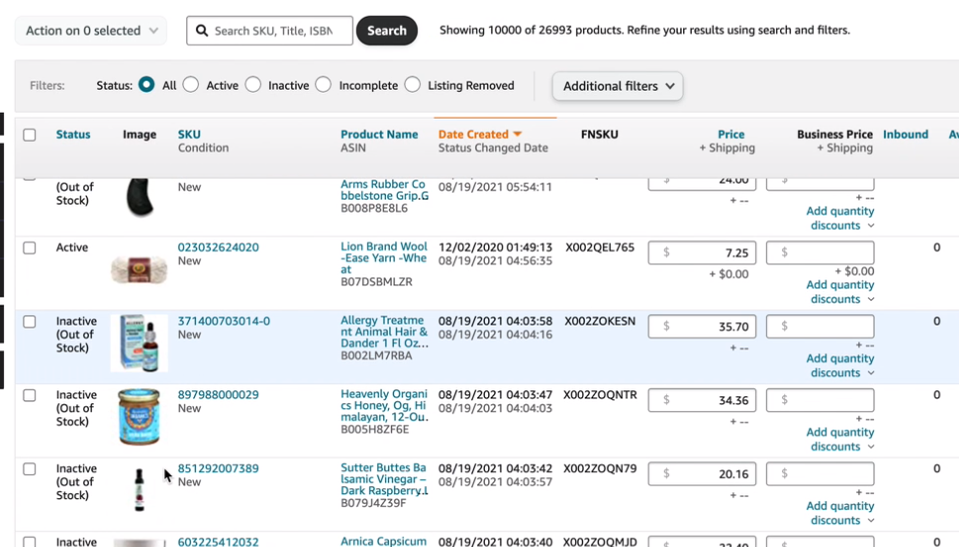
Then, head to the Action on [#] selected dropdown above your items.
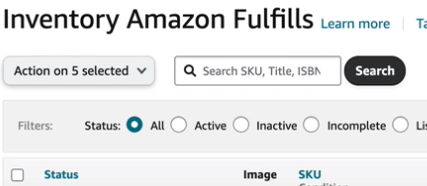
Click on Send/replenish inventory.
You’ll get a prompt with a list of items you selected to replenish. Double check your list, then click Yes, continue.

Step 2: Input pickup location
Next, you’ll see a section where you can start your shipping plan.

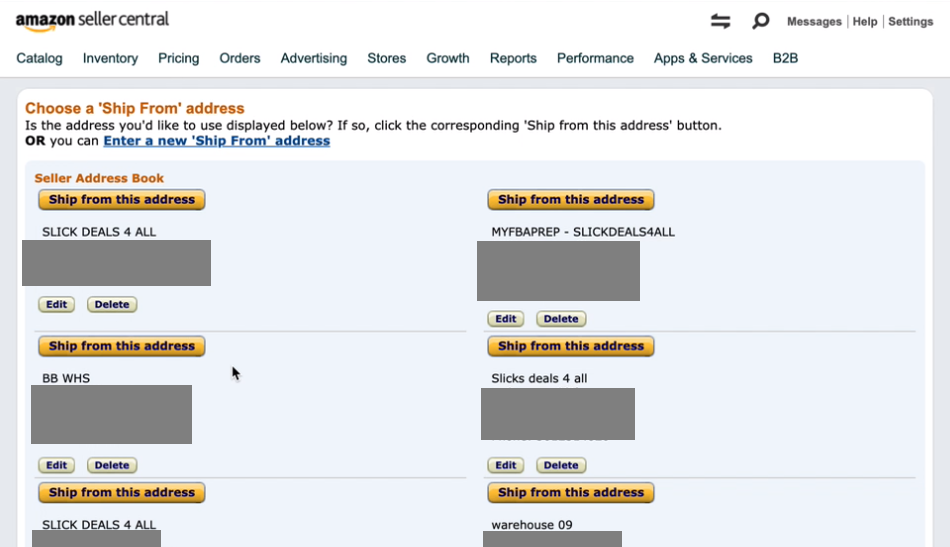
Select Create New Shipping Plan, then choose the address you’d like to ship from.
This address will tell the courier which location to pick up the shipment from, so it could be your business, warehouse, or supplier’s warehouse.
You can select Ship from another address to choose a different location.
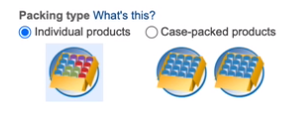
During this process, you’ll have to select the packing type. You can send individual products (cases containing different products) or case-packed products (cases containing the same items).
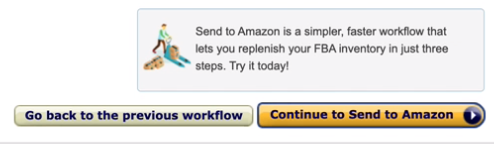
Then, go ahead and click Continue to Send to Amazon.
Step 3: Add your prep and labeling details
In the next screen, you’ll see a column labeled Information/action that requires more information from the seller.
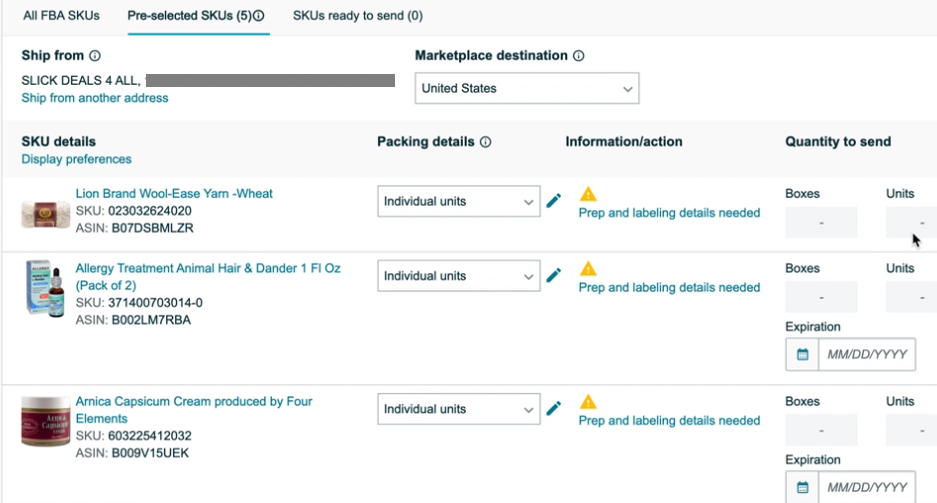
Click on Prep and labeling details needed, and specify additional information needed. In the example below, it asks whether Amazon has to further prep your goods, and who will label units.

Select your prep category and input all needed information for each of your items.
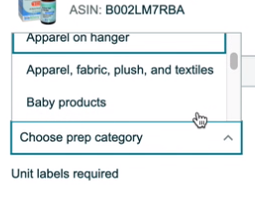
Amazon will tell you if prep is needed on your ASIN. For example, glass items will require bubble wrap. Items that are liquids will have to satisfy the “two seal” rule found in Amazon’s prep requirements here.
Note: A unit that falls under multiple categories must be prepped according to all applicable prep types. For example, if you are selling bottles of shampoo and conditioner as a set, both units must meet the prep requirements for liquid products and be labeled with a “Sold as set” sticker so they are not separated.
Step 4: Identify how many units to be shipped
Once that’s done, you choose how many units you’d like to ship per SKU.
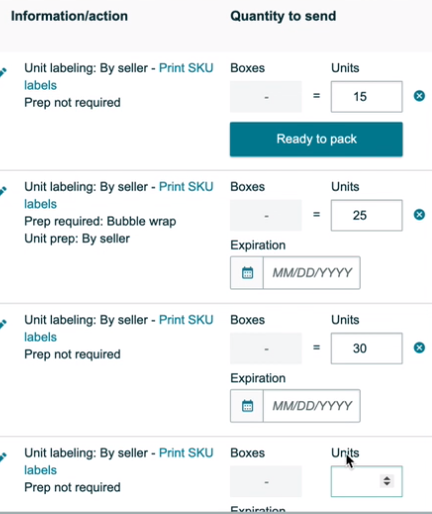
Set the number of products by filling in the overall number you’ll be sending in the Units column. Don’t forget to input any expiration dates for perishable products.
Again, you can find Amazon’s prep requirements here.
In the future, you can duplicate this plan and make slight changes to the number of units to save time.
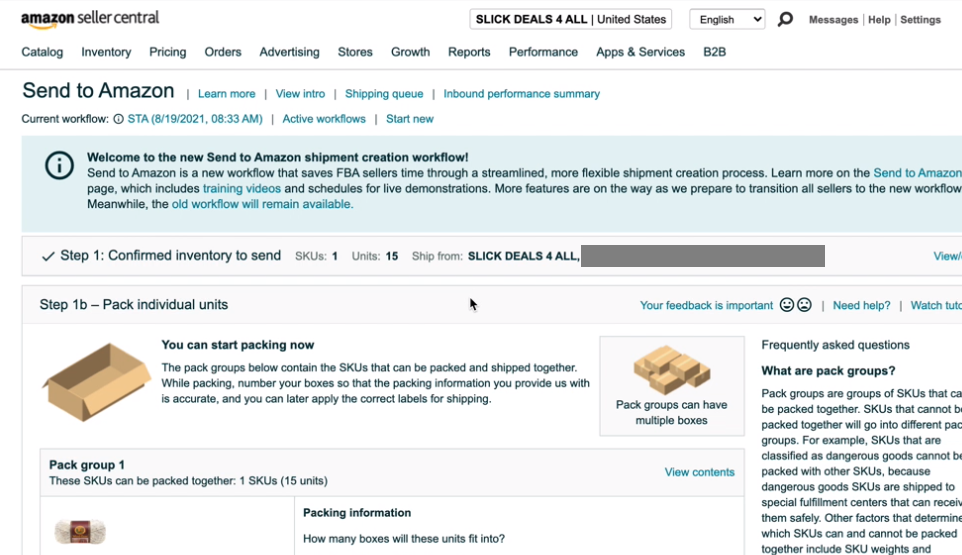
When your shipping plan is ready, proceed to Pack individual units.

Step 5: Send to Amazon
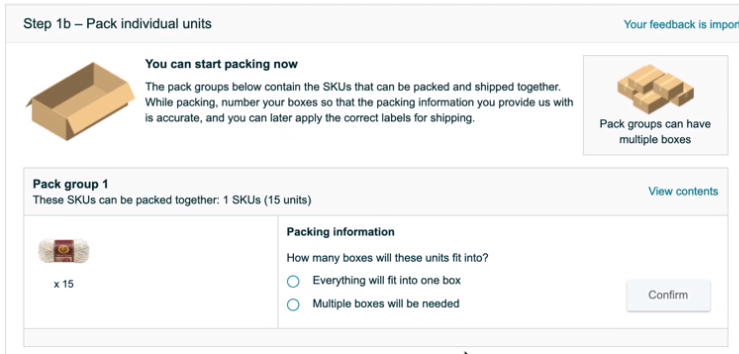
Now you’re ready to begin sending your items into Amazon.
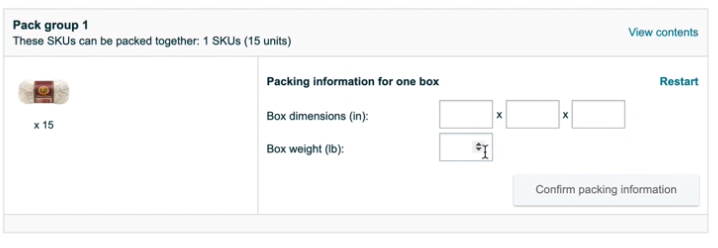
You’ll have to confirm whether all your items will fit into one box, or whether you’ll use multiple. Select the correct option in Packing information and click Confirm.
You’ll then get a prompt to enter your box weight and dimensions. The screen below appears after selecting Everything will fit into one box.
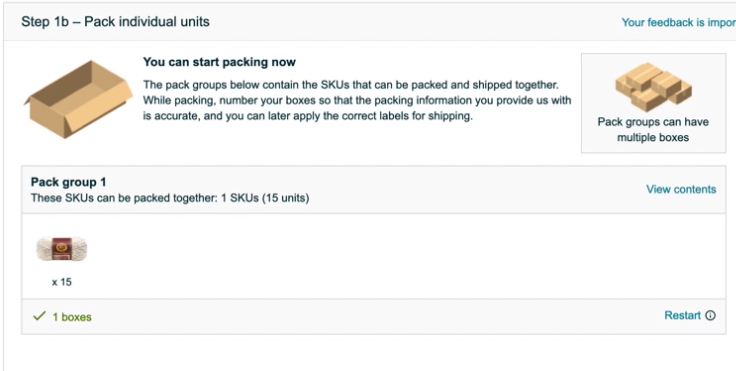
Once you confirm, you’ll see a checkbox indicating your boxes are good to send in.
Then, click Confirm and Continue to select your shipping.
Step 6: Confirm shipping
The next step in sending an item to Amazon is to select your shipping.
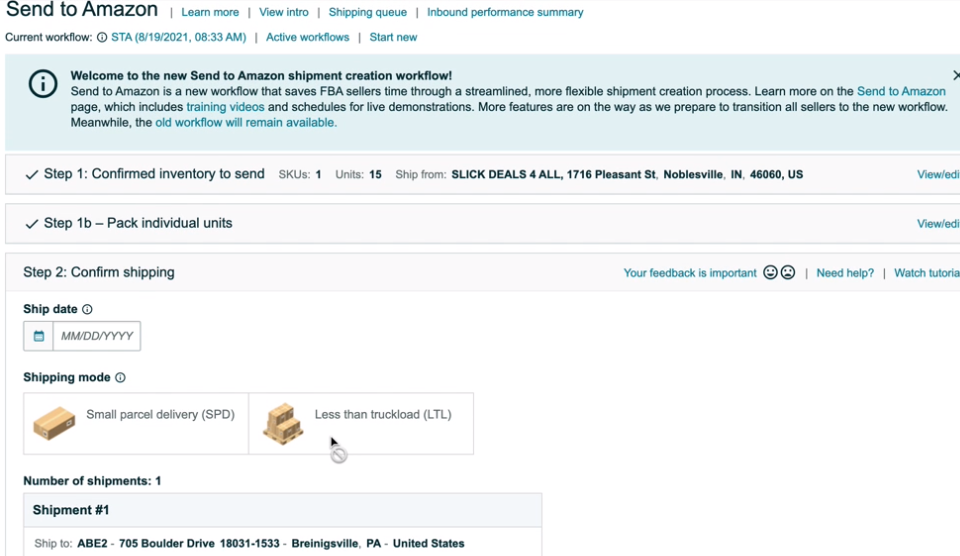
In this step, you select your shipping date, mode, and carrier.
Shipping mode refers to:
- Small Parcel Delivery (SPD) – Items packed in individual boxes.
- Less Than Truckload (LTL) – Cases or boxes stacked or on pallets.

Here’s what it looks like with a date, mode, and carrier selected.

Step 7: Review and confirm
Make a final review of your shipping charges, and then select Accept charges and confirm shipping to get your carton (or pallet) labels.

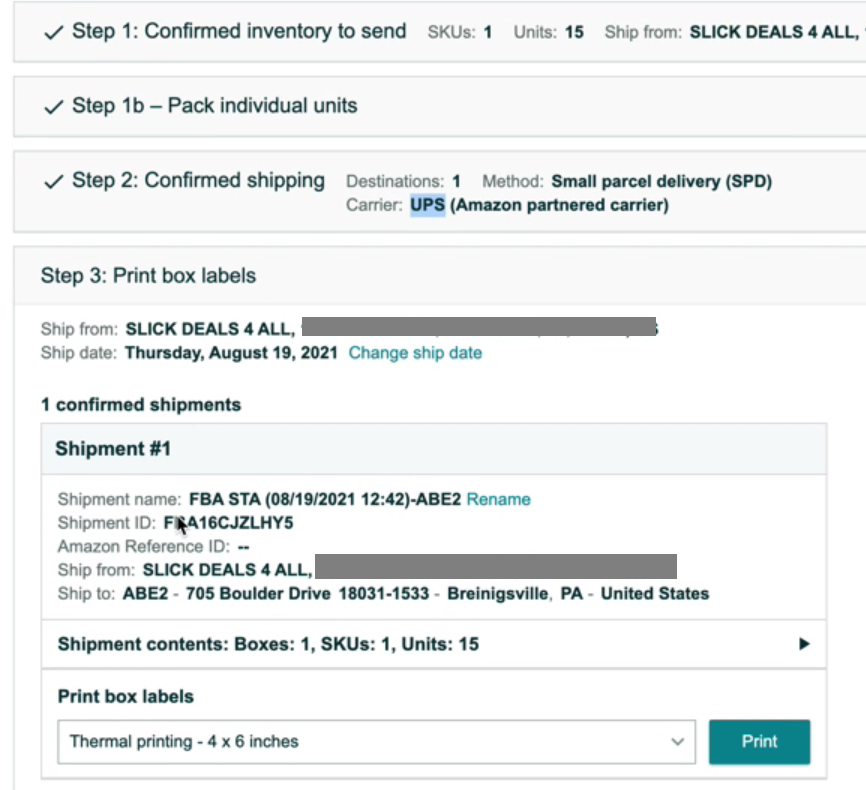
Step 8: Print your labels
The next thing you need to do is print out labels for your items, and attach them to the relevant boxes, ready for FBA pickup.
Tip: Save the plans you make, edit them, and reuse them later. The more shipments you manage and prepare, the easier it will be for you to navigate all the steps.
Want help preparing your Amazon FBA inventory to ensure compliance with FBA standards? Use a prep center like MyFBAPrep, with 50+ warehouses internationally to manage your Amazon goods.
Next steps – Optimize your processes by outsourcing
Does all of this sound a bit complicated? Well, it is. You can simplify your life and focus on your primary business by outsourcing all of your warehouse and prep needs by using MyFBAPrep to send all of your shipments into Amazon.
We have over 50 warehouses internationally to choose from…get set up with a consultation today!